3.1 Before Installing eDirectory
The following sections explain the necessary steps you must take for the Resource Kit to be properly configured before installing eDirectory.
3.1.1 Enabling the SLES Server for Multicast Routing
In order for eDirectory to function correctly, mulitcast routing must be enabled on the SUSE® Linux Enterprise Server (SLES) server.
-
From the Computer menu, select to verify your broadcast address range.
-
Enter netstat -nr to retrieve the current routing table.
-
If you have an entry for 224.0.0.0, you have the correct address range and you can proceed to Network Time Protocol Configuration. If not, continue with Step 4.
-
Log in as root at the terminal by entering su, then enter the root password.
-
To add the 224.0.0.0 network, enter the following: route add -net 224.0.0.0 netmask 255.0.0.0 dev eth0
-
Enter netstat -nr again to verify that you now have a network entry for the 224.0.0.0 network.
-
Enter exit twice to close the Gnome Terminal.
-
Proceed to Section 3.1.2, Network Time Protocol Configuration.
3.1.2 Network Time Protocol Configuration
Both eDirectory and Identity Manager are event-driven systems that rely heavily on time stamps. It is critical to have an accurate common source of time in your Identity Manager solution. Network Time Protocol (NTP) provides this functionality.
-
From the menu, open the .
-
Select to launch YaST.
-
Enter the root password.
-
From, select .
-
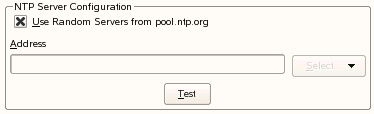
Select the option to start your NTP Client.

-
Click in the warning message about the NTP daemon taking a long time to start if you do not have an Internet connection.
-
Select , then click .
-
Close the YaST Control Center.
-
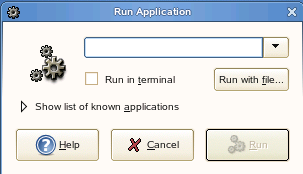
Press Alt+F2 to launch the Run Application dialog box.
-
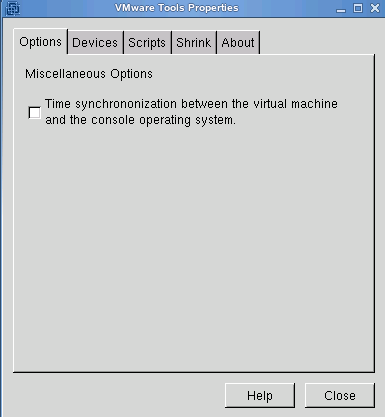
Type vmware-toolbox, then click .
-
Click the tab, then deselect the option.
-
Click .
-
Proceed to Section 3.1.3, Installing the SLP User Agent and Server Agent.
3.1.3 Installing the SLP User Agent and Server Agent
eDirectory Service Lookup Protocol (SLP) must be enabled for searching the network for other eDirectory trees and servers. eDirectory communicates with others servers, and SLP allows communication to occur faster.
-
If you are planning on using a physical DVD or CD-ROMs to install eDirectory, insert the installation media into your drive, which must be accessible from with your VM. Continue with Step 6.
-
If you are using ISO files, disconnect the CD-ROM device from your VM by selecting > > .
-
Reconfigure your VM to use the eDirectory 8.8.3 for Linux ISO file (eDir_88_SP3_Linux.iso) by selecting > > .
-
From the VM menu, browse to the ISO file in the section.
-
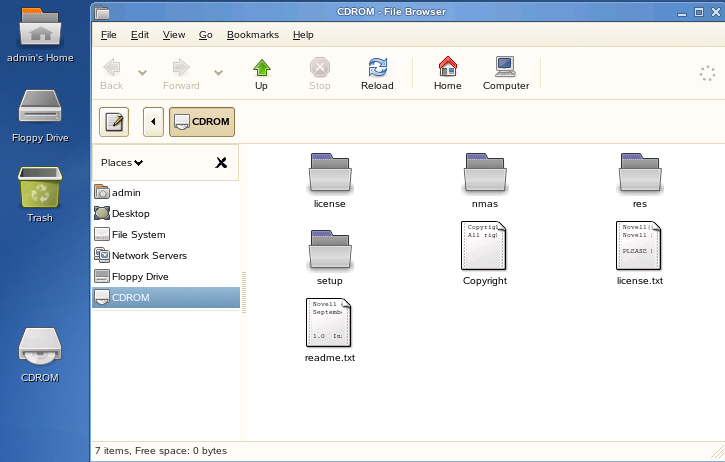
From the VM menu, reconnect the CD-ROM device to your VM by selecting > > . This causes SLES to automatically mount the CD-ROM and open a file browser.
-
Browse to the Setup directory and double-click the novell-NDSslp-8.8.2-1.i386.rpm file to install the package with the Software Installer.
-
Authenticate as root when prompted, then click .
-
Verify that the package is selected, the click to start the installation.
-
Select when the installation ends.
-
To start the SLP User Agent and Server Agent, go to the menu, select , then complete the following steps:
-
Log in as root by entering su.
-
Enter the root password.
-
Issue the command to start the SLP service: /etc/init.d/slpuasa start.
-
If you want to stop the SLP service, issue the command /etc/init.d/slpuasa stop.
-
-
Enter exit twice to log out as root and close the Gnome Terminal.
-
Proceed to Section 3.1.4, Validating Entries in the /etc/hosts File.
3.1.4 Validating Entries in the /etc/hosts File
If your /etc/hosts file has the entry 127.0.0.2 metaserver1.idm metaserver1, then the installation can fail. This entry is placed in the /etc/hosts file by the SUSE installation. Many utilities such as ndsconfig or ndssch do a quick lookup in /etc/hosts for the hostname. The utilities read the line indicating that metaserver1 = 127.0.0.2 and try to connect. This is a dummy address and the utilities cannot connect. The line must be removed or commented out before running any installation.
-
From the menu, select .
-
Log in as root by entering su, then enter the root password.
-
Enter gedit /etc/hosts.
-
Find the entry 127.0.0.2 metaserver1.idm metaserver1 (your server’s DNS name), place a # in the front of the line to comment the entry, or delete the line entirely.
-
Selectto save the changes, then click to close the utility.
-
Enter exit twice to log out as root and close the Gnome Terminal.
-
Proceed to Section 3.2, Installing eDirectory 8.8.3.