6.3 Configuring the WebSphere Environment
6.3.1 Configuring a Connection Pool
To configure a connection pool for use with WebSphere, you need to create a JDBC Provider and a data source. This section provides instructions for creating the provider and the data source.
To create a JDBC Provider:
-
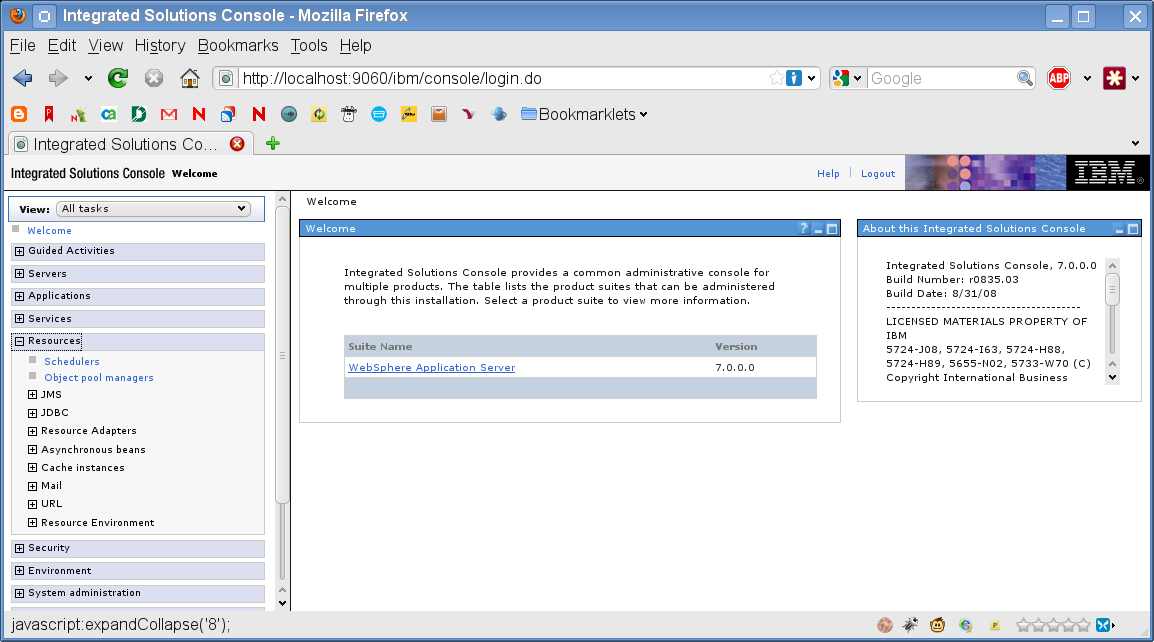
Expand on the left side of the Integrated Solutions Console page:
-
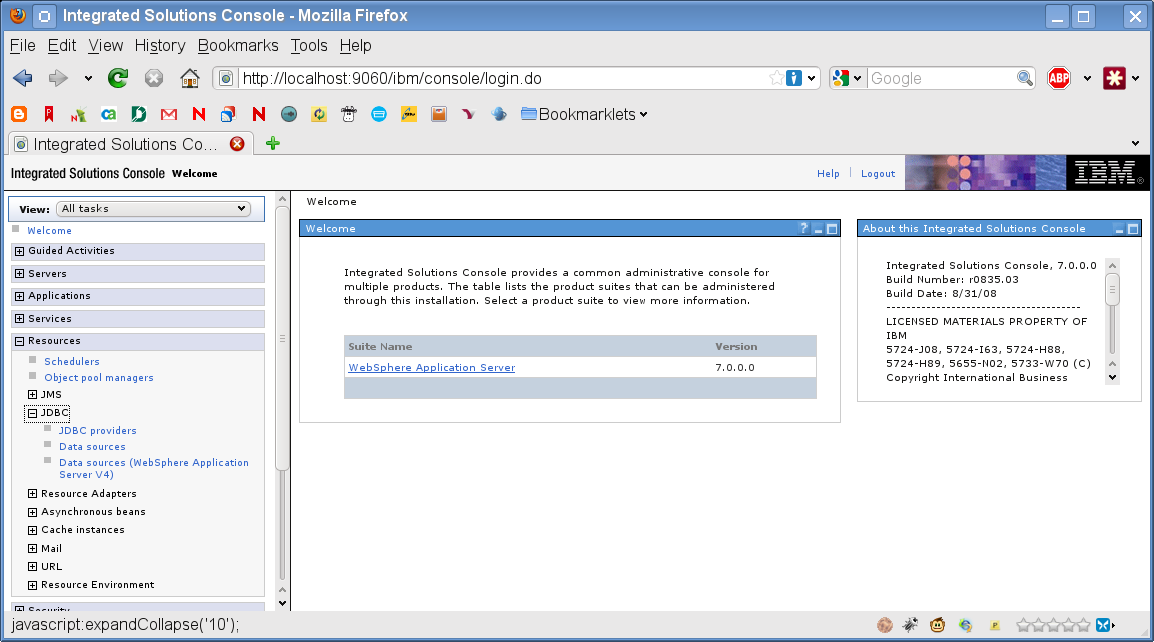
Expand :
-
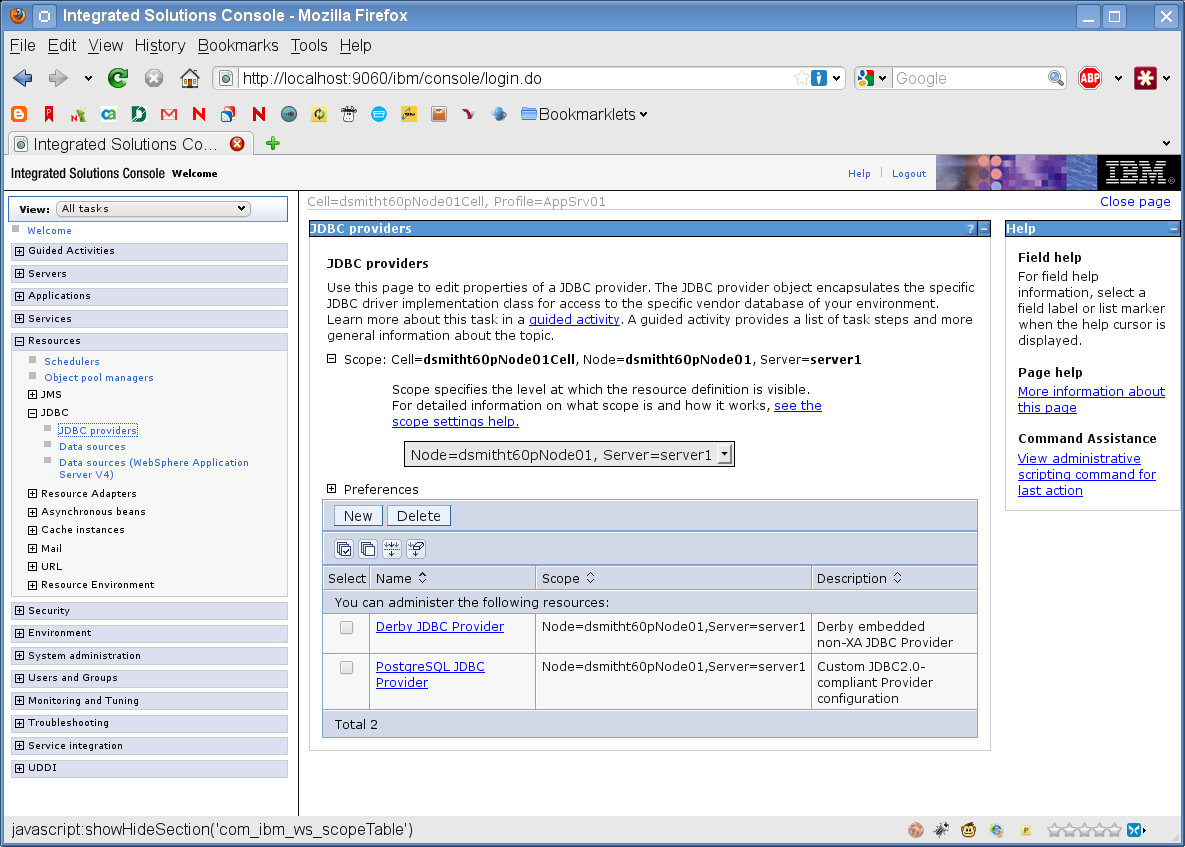
Click :
-
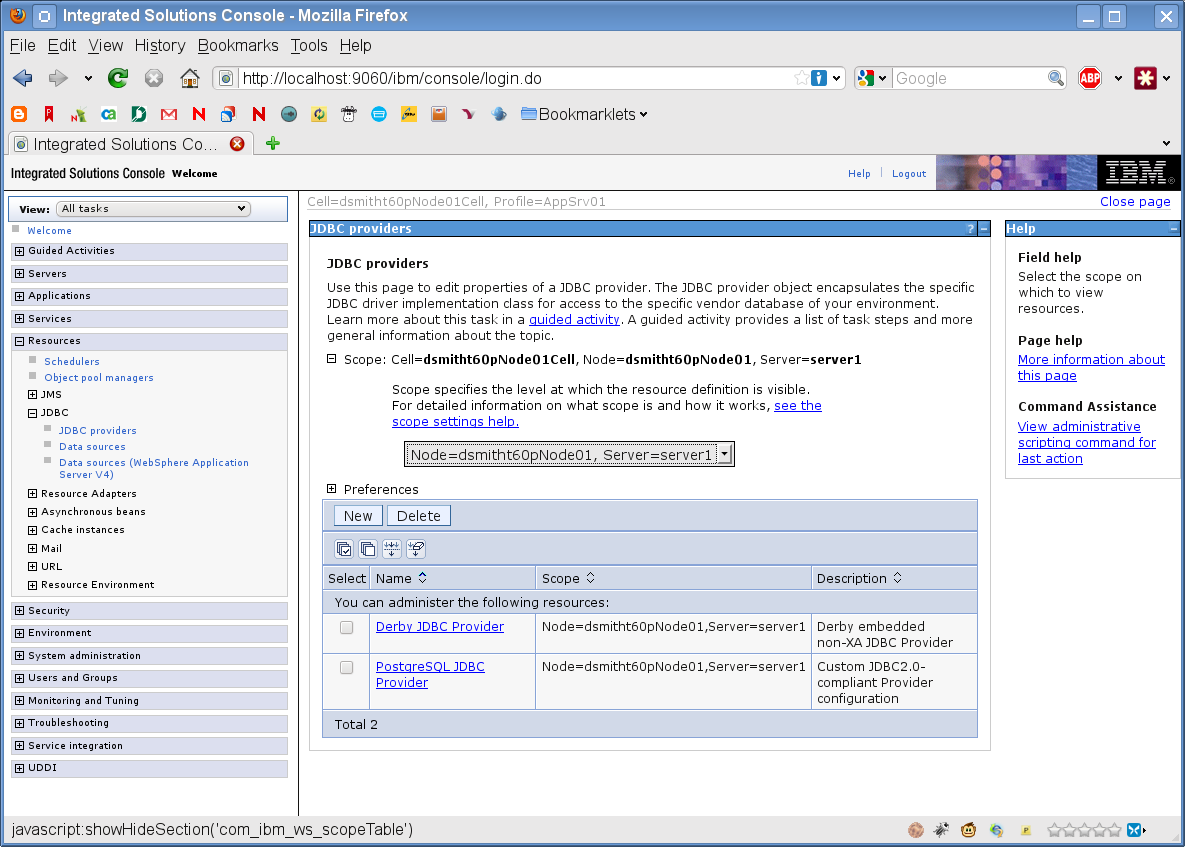
Expand :
-
Select .
-
Click the button.
-
Select the (for example, DB2).
-
Click .
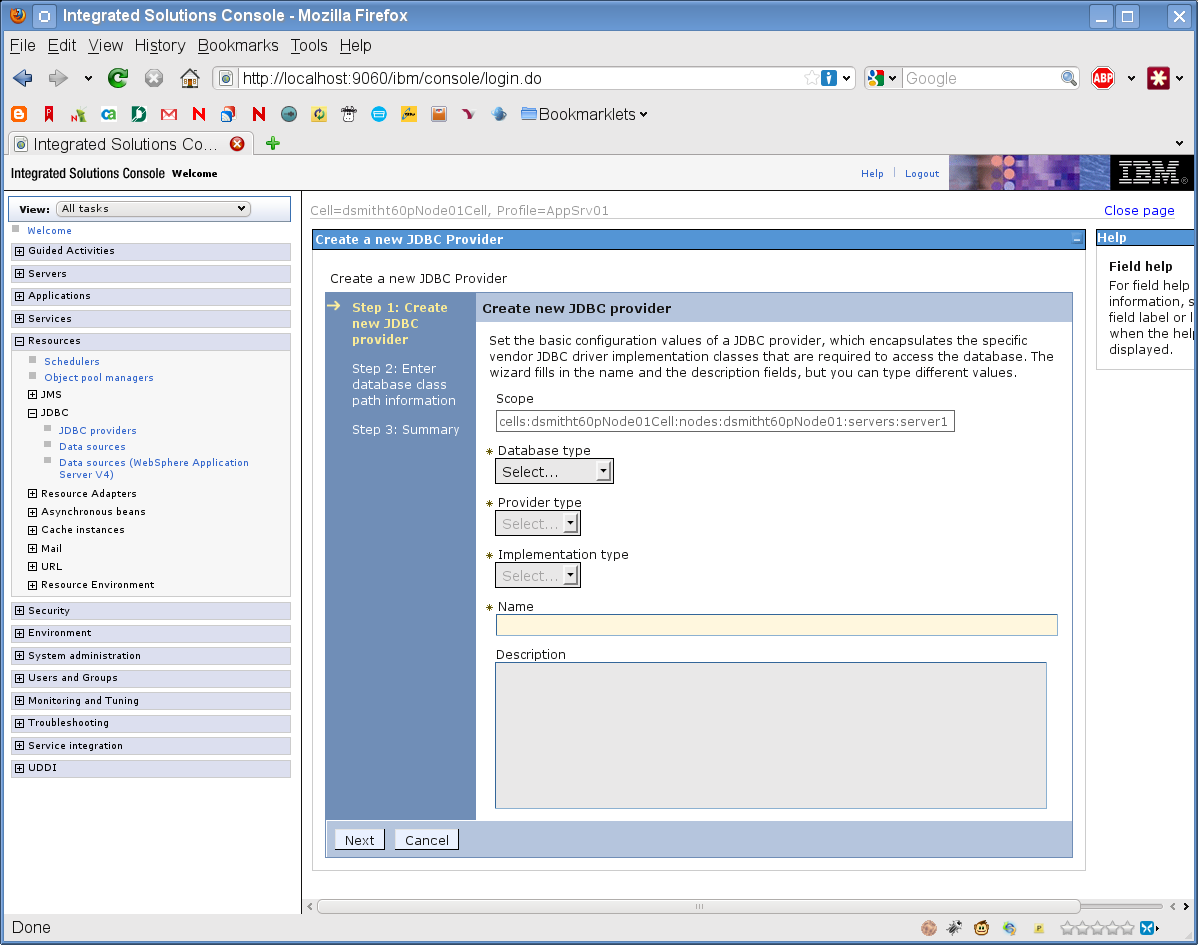
-
Enter the JDBC classpath information.
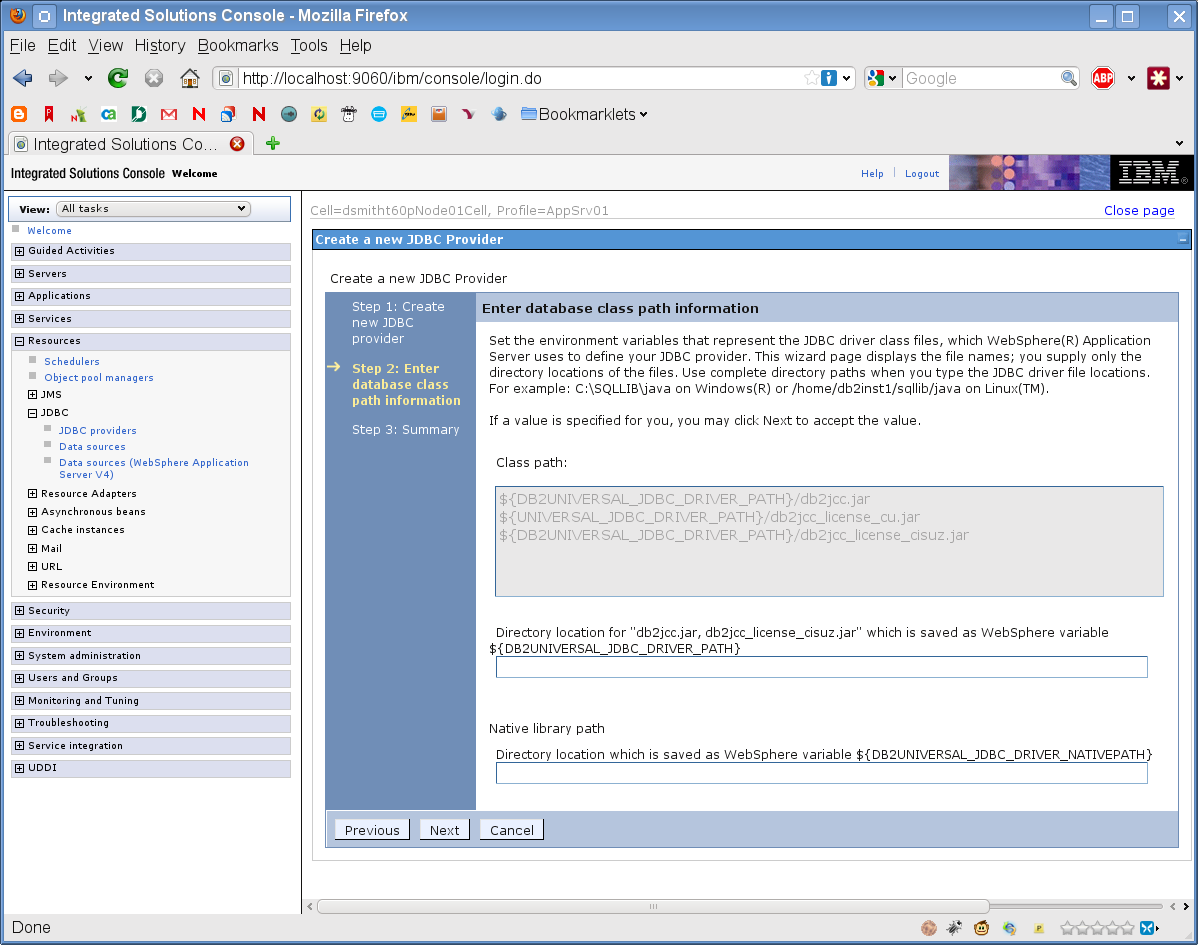
-
Click .
-
Click .
-
Click the link.
To create a data source:
-
Expand on the left side of the page.
-
Expand .
-
Click .
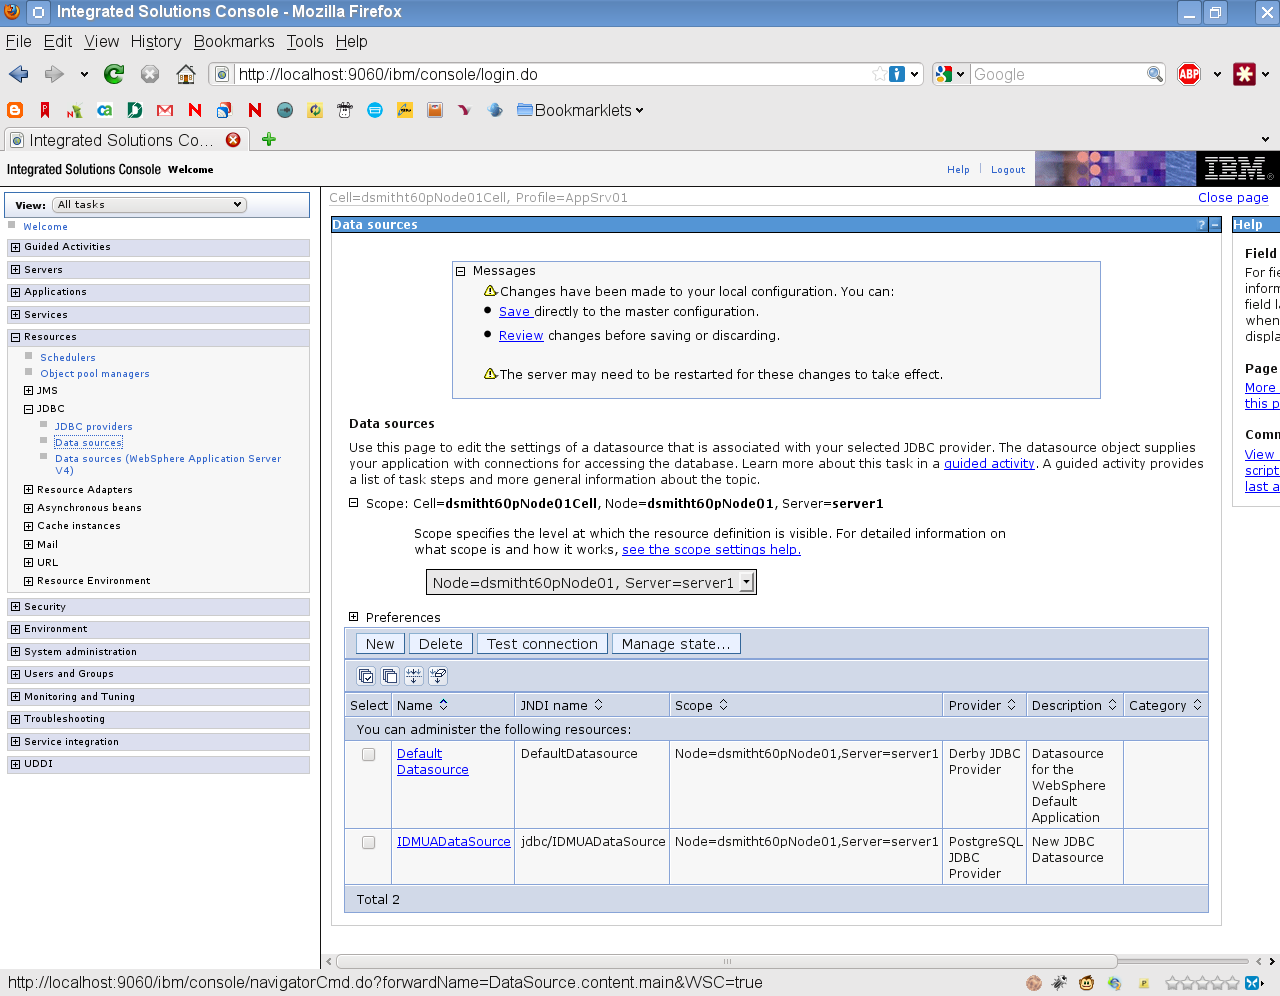
-
Expand .
-
Select .
-
Click the button.
-
Enter the DataSource name and JNDI name (for example, IDMUADataSource for both).
-
Click .
-
Click .
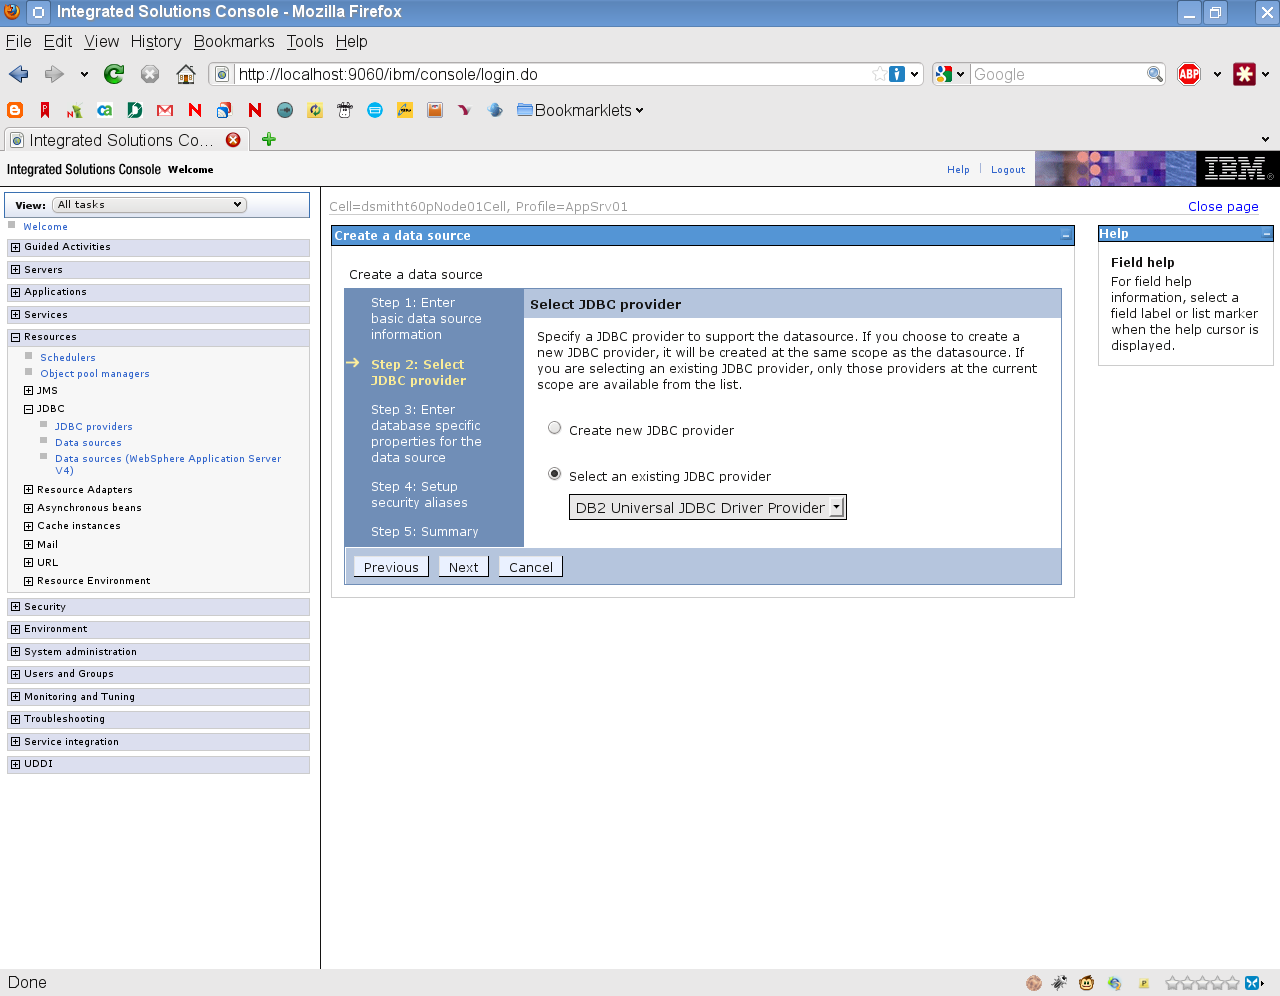
-
Select the JDBC Provider you created above.
-
Click .
-
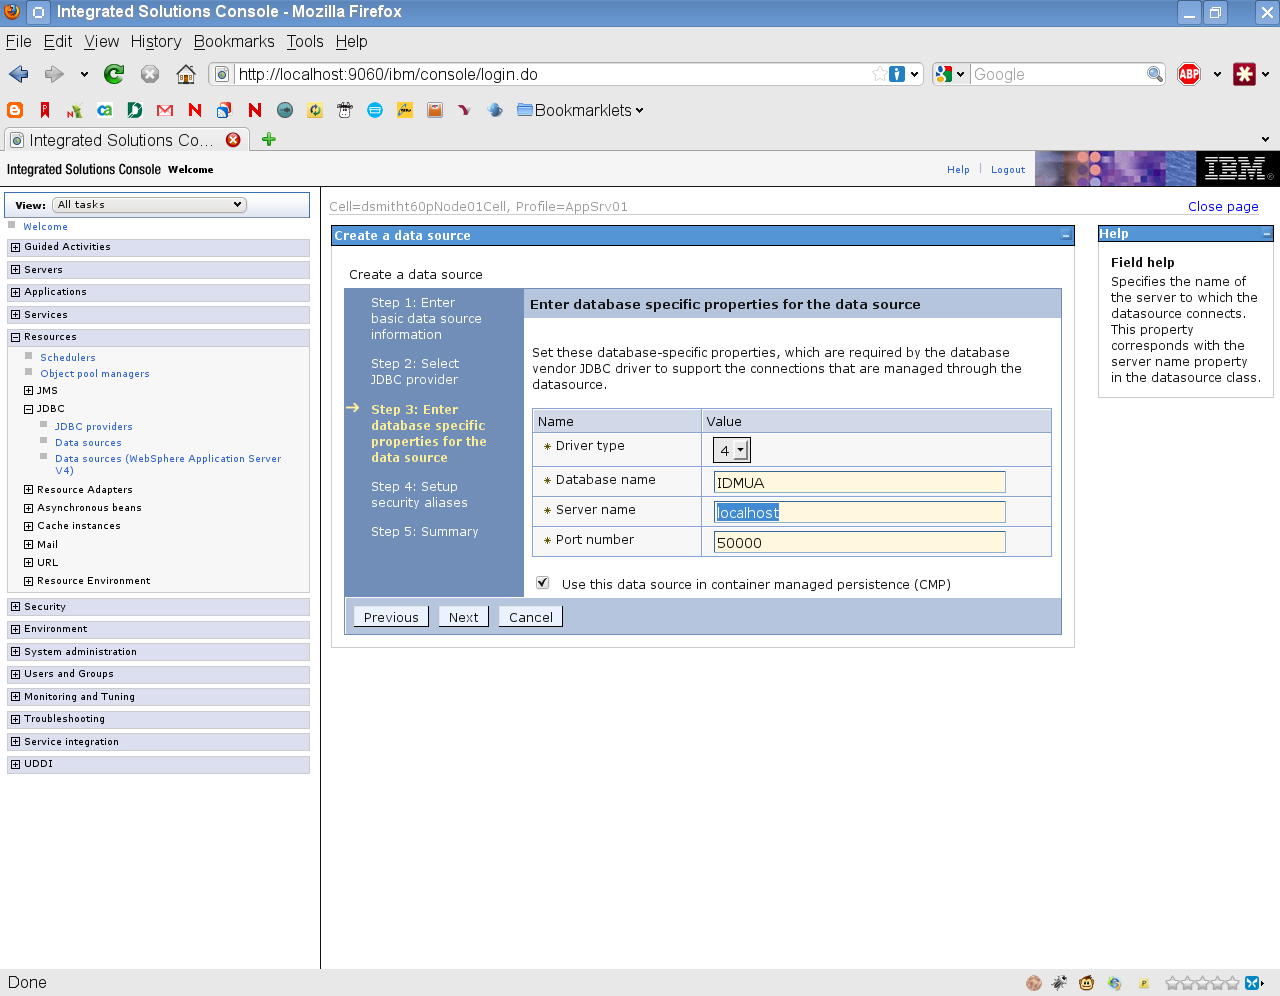
Enter the database information required for the DataSource (databasename, server name, port, username, and password).
-
Click .
-
Enter Security Alias information or leave defaults.
-
Click .
-
Click .
-
Click .
-
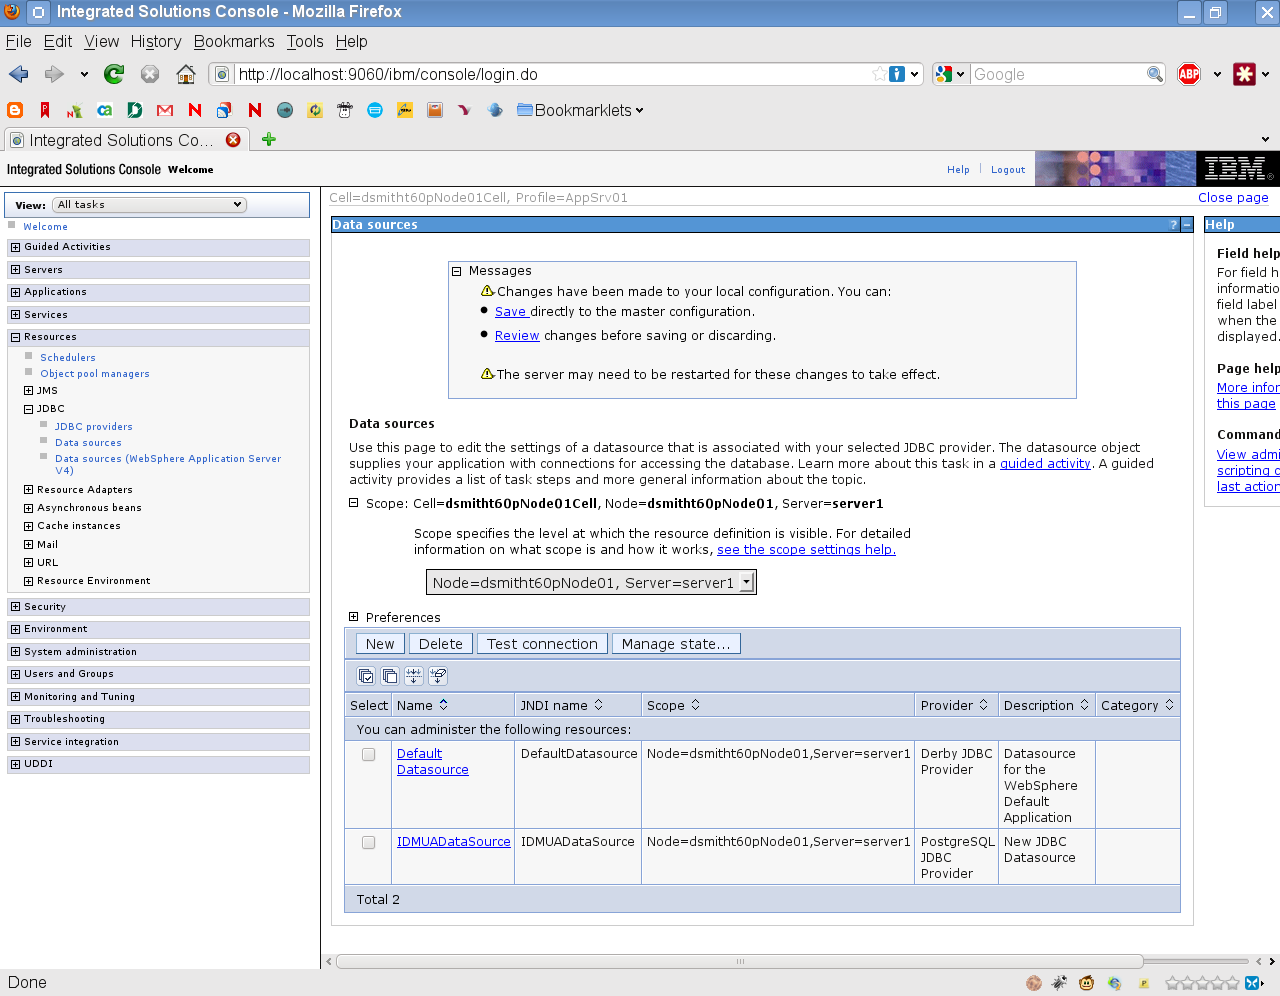
Select your new DataSource by clicking the checkbox to the left of the name.
-
Click the button, and make sure it returns .
6.3.2 Adding User Application Configuration Files and JVM System Properties
The following steps are required for a successful WebSphere installation:
-
Copy the sys-configuration-xmldata.xml file from the User Application install directory to a directory on the machine hosting the WebSphere server, for example /UserAppConfigFiles.
The User Application install directory is the directory in which you installed the User Application.
-
Set the path to the sys-configuration-xmldata.xml file in the JVM system properties. Log in to the WebSphere admin console as an admin user to do this.
-
From the left panel, go to .
-
Click the server name in the server list, for example server1.
-
In the list of settings on the right, go to under .
-
Expand the link and select .
-
Under the list of , select .
-
Select under the heading for the JVM page.
-
Click to add a new JVM system property.
-
For the , specify extend.local.config.dir.
-
For the , specify the name of the install folder (directory) that you specified during installation.
The installer wrote the sys-configuration-xmldata.xml file to this folder.
-
For the , specify a description for the property, for example path to sys-configuration-xmldata.xml.
-
Click to save the property.
-
-
Click to add another new JVM system property.
-
For the , specify idmuserapp.logging.config.dir
-
For the , specify the name of the install folder (directory) that you specified during installation.
-
For the , specify a description for the property, for example path to idmuserapp_logging.xml.
-
Click to save the property.
The idmuserapp-logging.xml file does not exist until you persist the changes through .
-
You also need to configure a shared library for the User Application on WebSphere. The shared library defines the class loading behavior that is needed to make the application run properly.
To configure the shared library:
-
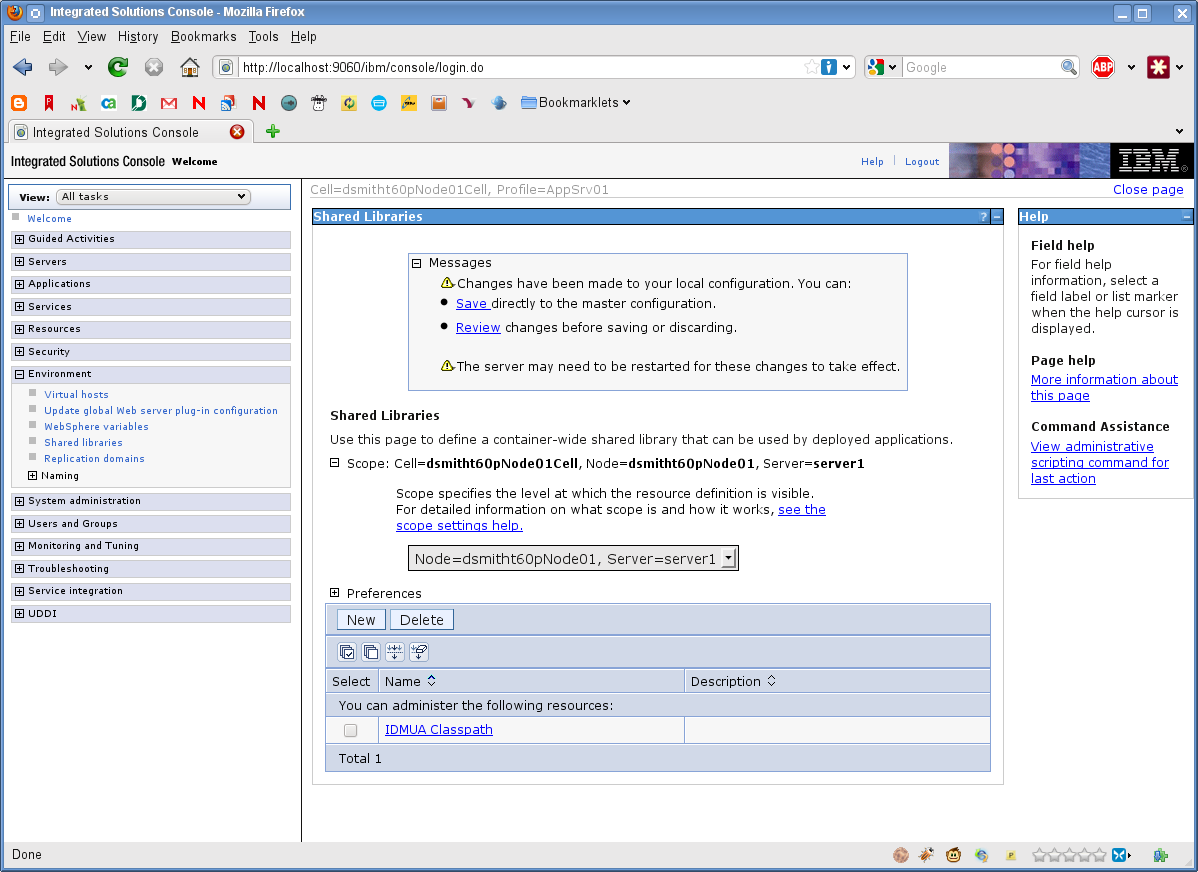
Create the Shared Library for the User Application:
-
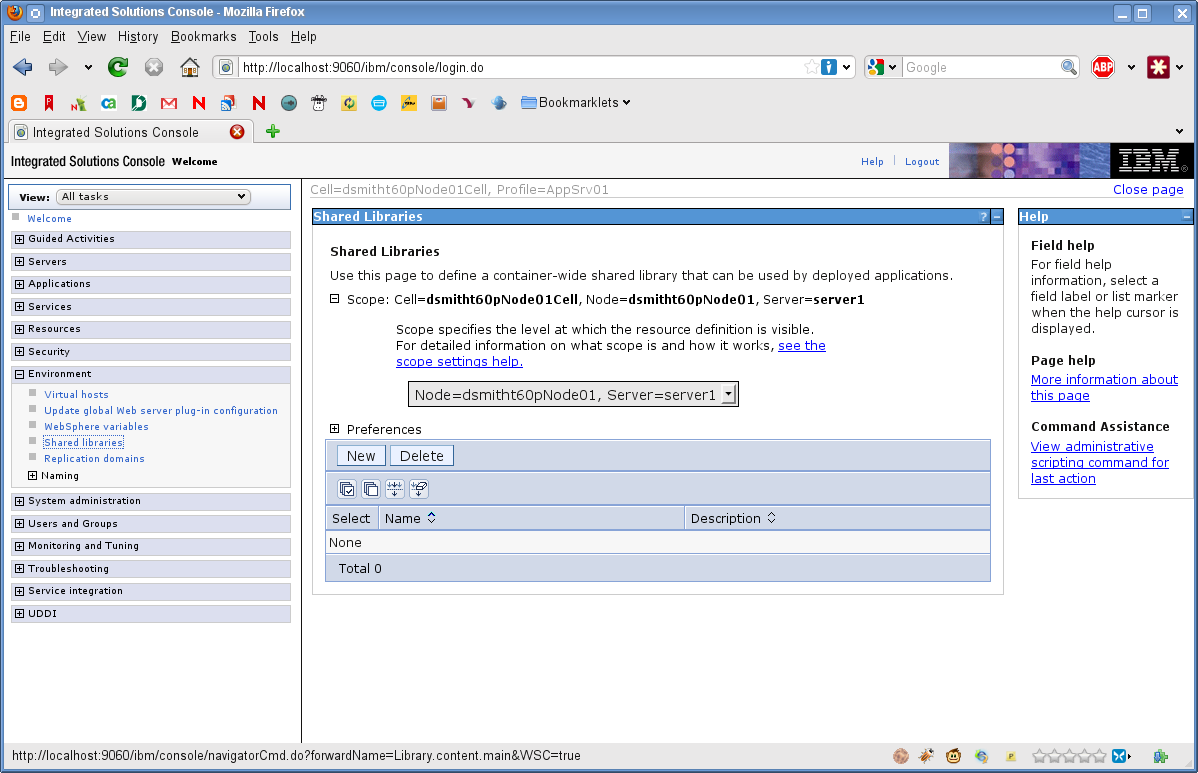
Click on in the left-navigation menu.
-
Click .
-
Click the button.
-
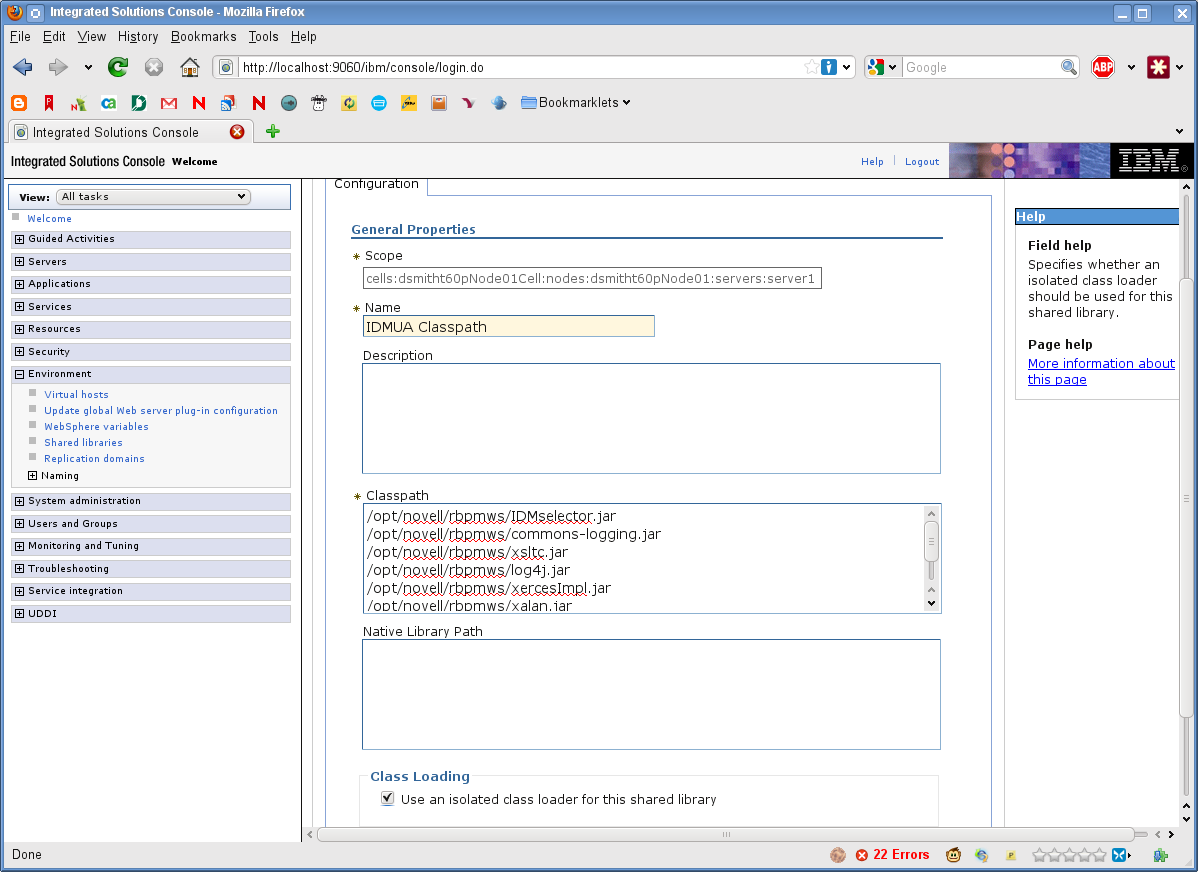
Enter a name (such as IDMUA Classloader).
-
Enter the list of required JAR files into the Classpath field:
-
antlr.jar
-
log4j.jar
-
commons-logging.jar
NOTE:You need to download this JAR file from the Apache site.
-
xalan.jar
-
xercesImpl.jar
-
xsltc.jar
-
serializer.jar
-
jaxb-impl.jar
-
IDMselector.jar
-
-
Click .
-
Click the link.
-
-
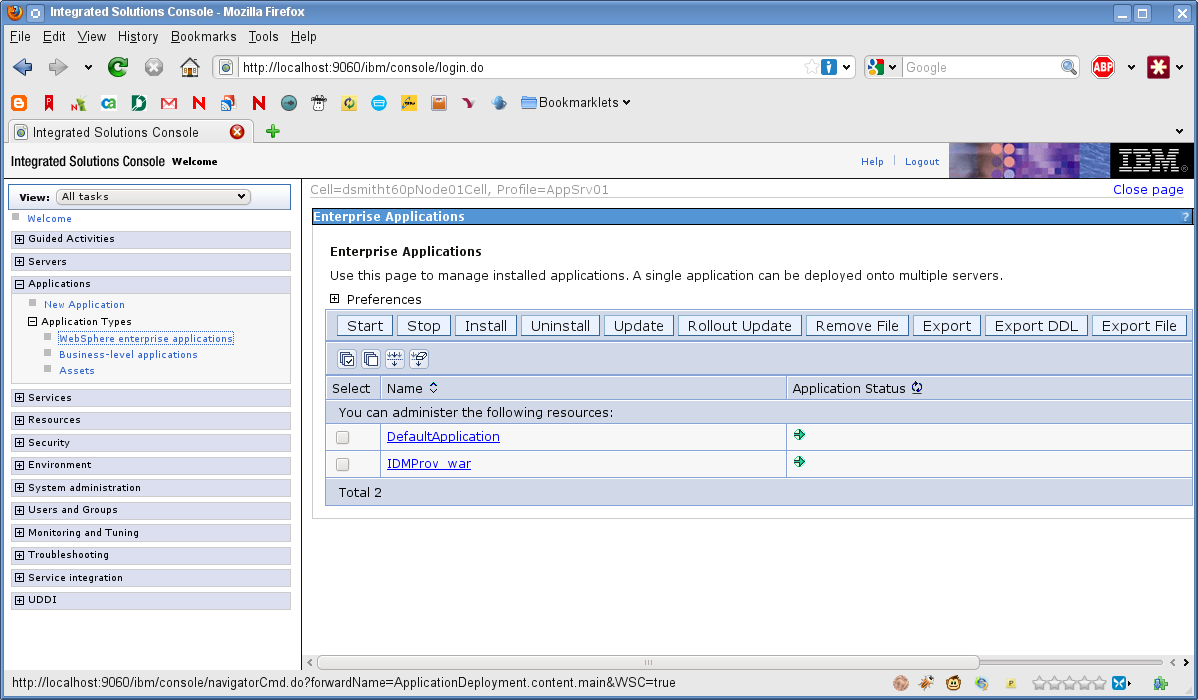
Add the Shared Library to IDMProv:
-
Click on the left.
-
Click .
-
Click on the name .
-
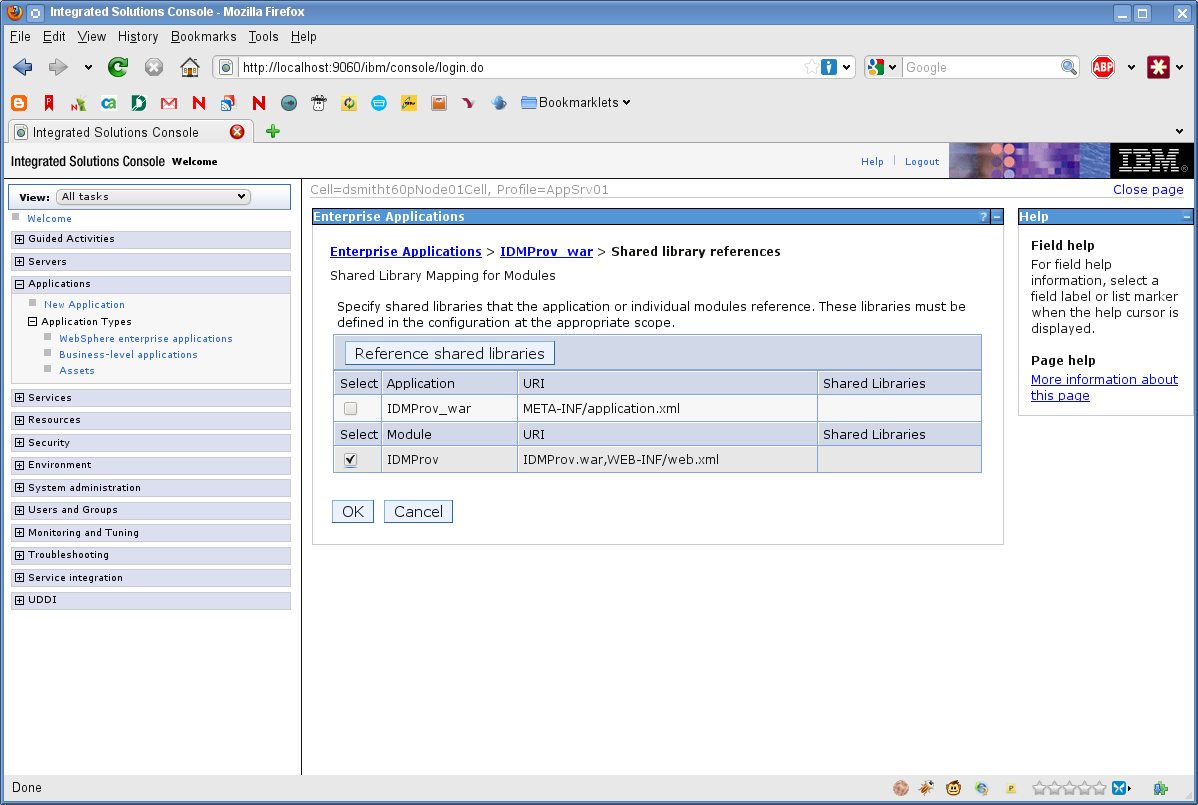
At the bottom of the page under , click .
-
Click the checkbox next to (not IDMProv_war).
-
Click the button.
-
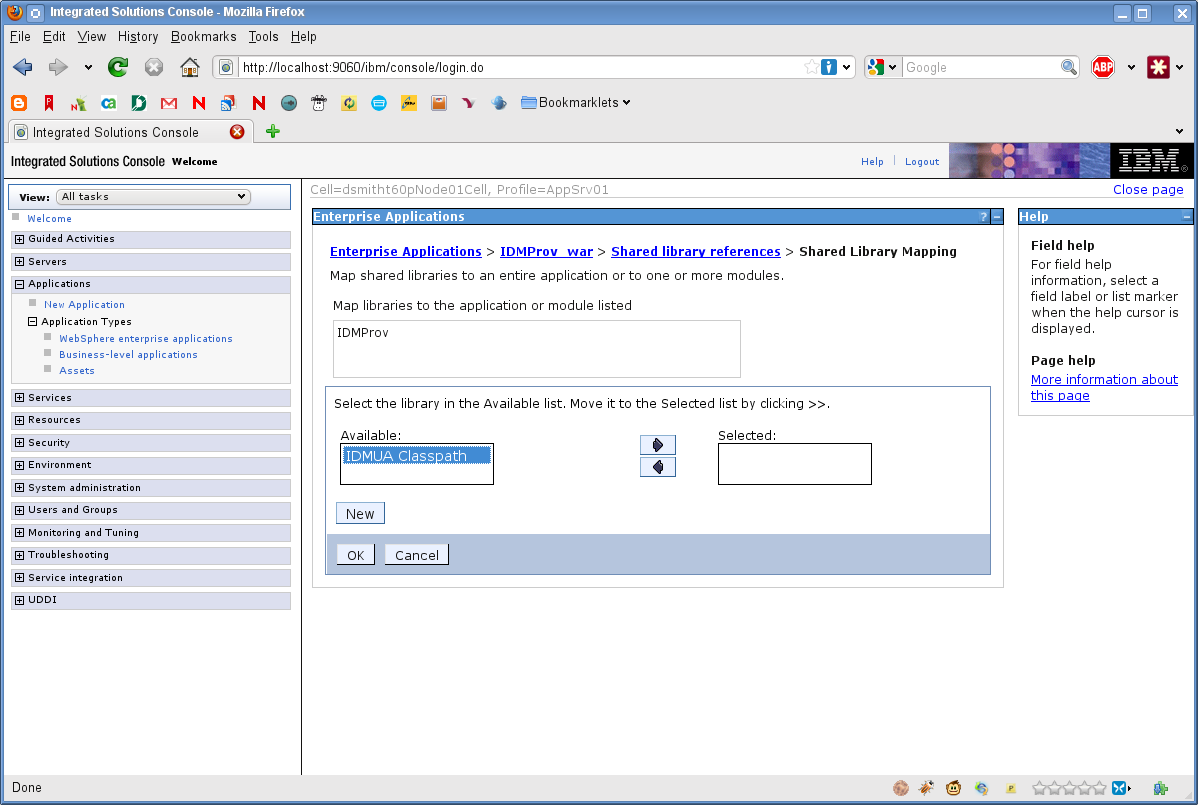
Click the name of the Shared Library () in the box. Then click the right-pointing arrow so it moves to the box.
-
Click to go back to the prior page.
-
Click again.
-
Click to persist the changes to the server configuration.
-
Restart the server if all other configuration steps have been performed.
-
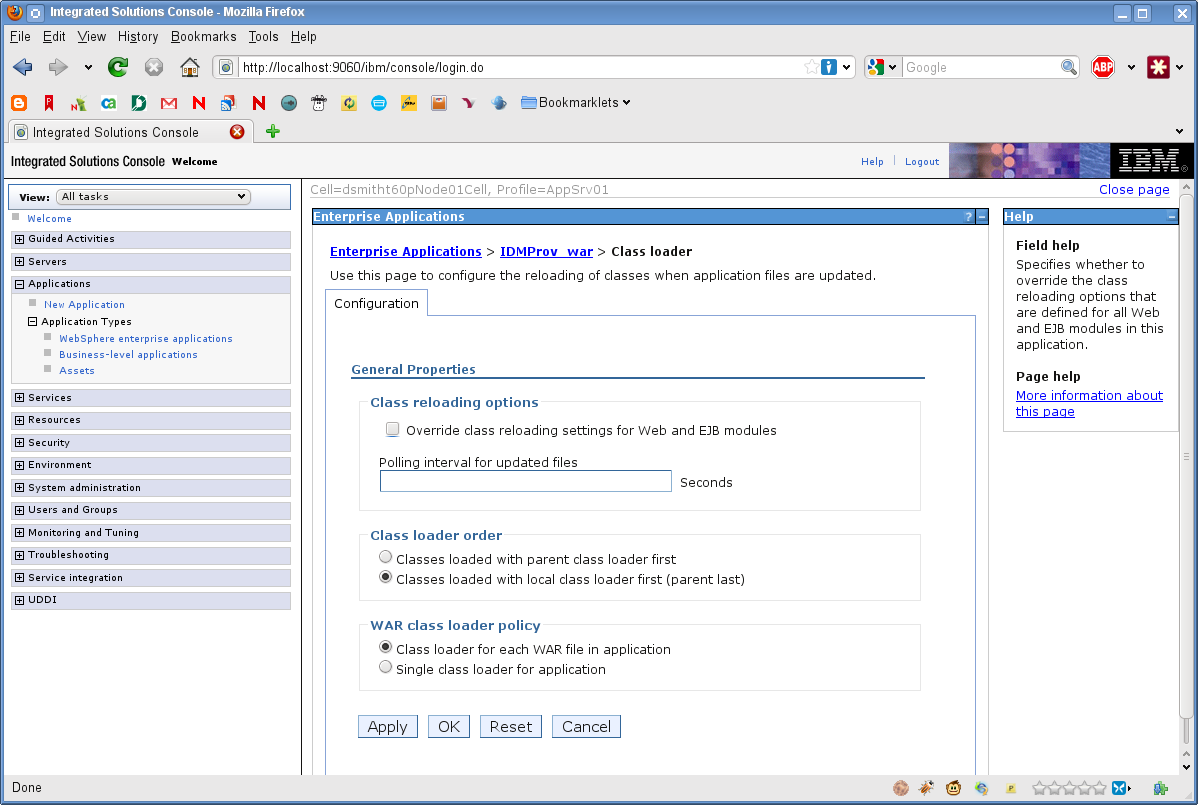
Note that the class loading change should be made at the application level, not the module level. WebSphere creates an EAR for the deployed WAR, and makes the WAR a module within the EAR:
6.3.3 Importing the eDirectory Trusted Root to the WebSphere Keystore
-
Copy the eDirectory trusted root certificates to the machine hosting the WebSphere server.
The User Application installation procedure exports the certificates to the directory in which you install the User Application.
-
Import the certificates into the WebSphere keystore. You can do this by using the WebSphere administrator’s console (Importing Certificates with the WebSphere Administrator’s Console) or through the command line (Importing Certificates with the Command Line).
Importing Certificates with the WebSphere Administrator’s Console
-
Log in to the WebSphere administration console as an admin user.
-
From the left panel, go to .
-
In the list of settings on the right, go to under .
-
Select (or the trust store you are using).
-
Under on the right, select .
-
Click .
-
Type the Alias name and full path to the certificate file.
-
Change the Data type in the drop-down list to .
-
Click . You should now see the certificate in the list of signer certificates.
-
Click link at the top of the screen.
Importing Certificates with the Command Line
From the command line on the machine hosting the WebSphere server, run the keytool to import the certificate into the WebSphere keystore.
NOTE:You need to use the WebSphere keytool or this does not work. Also, be sure the store type is PKCS12.
The WebSphere keytool is found at /IBM/WebSphere/AppServer/java/bin.
The following is a sample keytool command:
keytool -import -trustcacerts -file servercert.der -alias myserveralias -keystore trust.p12 -storetype PKCS12
If you have more than one trust.p12 file on your system, you might need to specify the full path to the file.
6.3.4 Passing the preferIPv4Stack Property to the JVM
The User Application uses JGroups for the caching implementation. In some configurations, JGroups requires that the preferIPv4Stack property be set to true in order to ensure that the mcast_addr binding is successful. Without this option, the following error may be observed, and caching will not work properly:
[10/1/09 16:11:22:147 EDT] 0000000d UDP           W org.jgroups.util.Util
createMulticastSocket could not bind to /228.8.8.8 (IPv4 address); make sure
your mcast_addr is of the same type as the IP stack (IPv4 or IPv6).
The parameter java.net.preferIPv4Stack=true is a system property that can be set in the same manner as other system properties such as extend.local.config.dir. For instructions on setting system properties, see Section 6.3.2, Adding User Application Configuration Files and JVM System Properties.
6.3.5 Additional Configuration for WebSphere 7.0
If you are using WebSphere 7.0 with Version 4.0.1 of the RBPM, you need to be aware that several JAR files (such as commons-digester.jar) have been upgraded to the latest available versions in this release of RBPM. Therefore, you may encounter version conflicts with JAR files that have shipped with WebSphere if you do not configure your environment properly.
To ensure that you are using the right JAR files, you need to configure your WebSphere server to load classes from the IDMProv.war first. For the IDMProv.war file, you need to select the option for IDMProv.war.