2.1 When No Staging Environment Exists
If you are new to Package Deployment Tool and have no staging environments, you will see the following window:
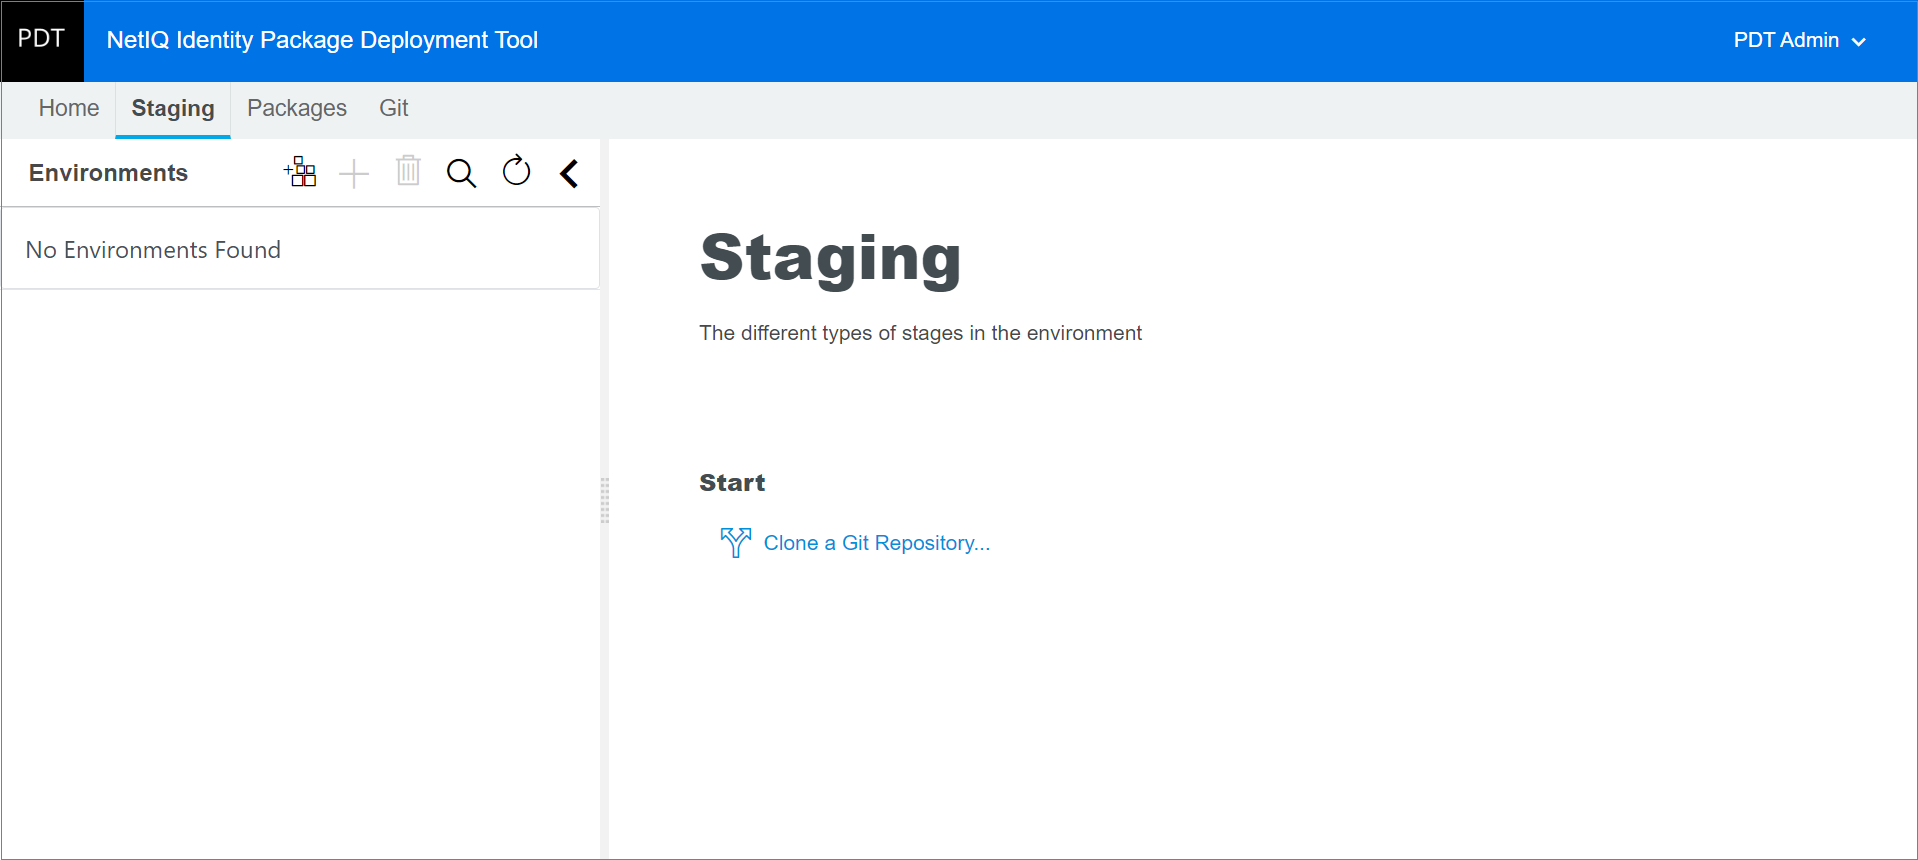
You are directed to the menu by default, where you can first set up a staging environment.
A typical staging environment consists of a stage set with different stages.
-
To create a stage set:
-
Click
 .
. -
Specify the values for all the fields marked with an asterisk (*) in the Create Stage Set window.
NOTE:
-
You cannot change the specified later.
-
Do not use special characters, such as space, hyphen, and underscore in the field.
-
-
(Optional) Specify a description of the stage set.
-
Click .
-
-
To add a new stage to the newly created stage set:
-
On the left pane, select the stage set you created, then click
 .
. -
Specify the values for all the fields marked with an asterisk (*) in the Create Stage window.
NOTE:
-
You cannot change the specified later.
-
Do not use special characters, such as space, hyphen, and underscore in the field.
-
-
(Optional) Specify a description of the stage.
-
Click .
-
After successfully creating the staging environment, the following window appears on the home screen:
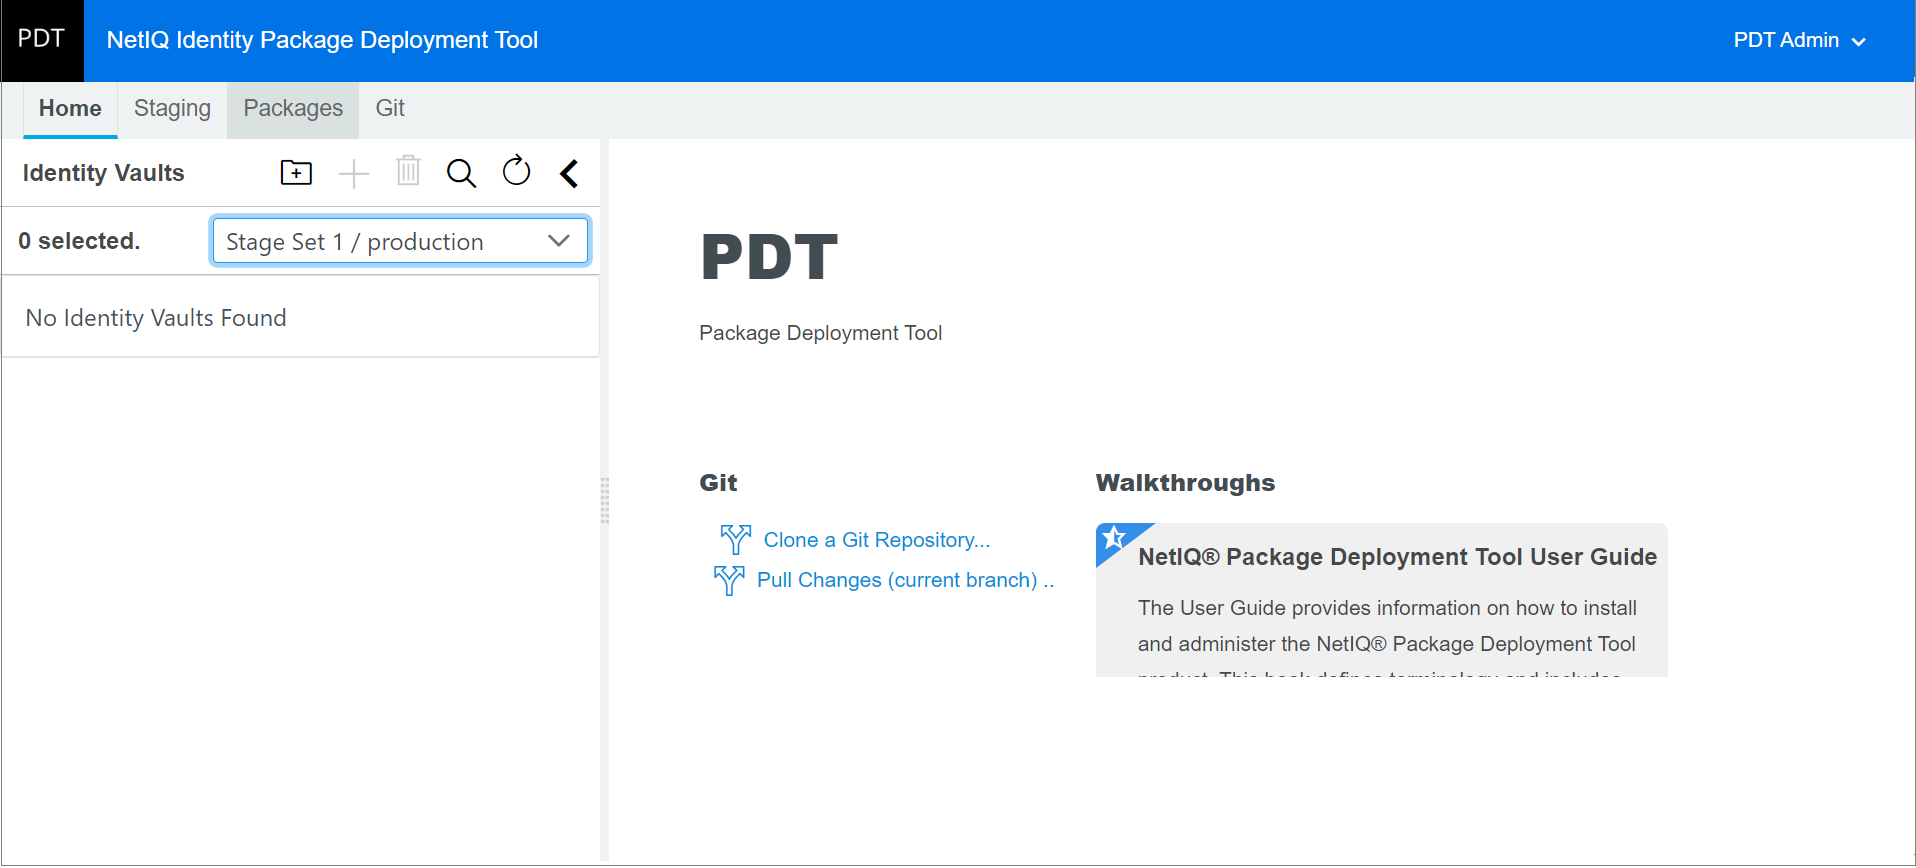
The left navigation pane displays the staging environments, where you can select the stage you want to work with from the drop-down list. When you log in to the Package Deployment Tool, it takes you to the menu, which is the default landing page.